So you’re sitting in the living room of your mobile home with your family gathered around. It’s a beautiful late summer day. There’s a cool breeze blowing and the sun is ducking in and out of the clouds like it can’t quite make up its mind. It’s the perfect day for dreaming, and you start re-imagining your home with a whole new look, a fresh vibe to fit the changing seasons and the ways your family has grown this year. Then, suddenly, it hits you square in the forehead and knocks you back into reality: The Budget.
There are definitely ways to update your space without new furniture, but sometimes the furniture that you already have just isn’t working with your new vibe. So what do you do? In many cases, reupholstering your current furniture is a great, budget-friendly option. Reupholstering furniture on your own may seem like something that is outside your wheelhouse. But, with a little research and patience it might not be as difficult as you think.
In this article we will give you the steps you need to reupholster your own furniture. We will also include some helpful links with more in-depth explanations of some of these steps to get you comfortable with this great, budget-friendly way of overhauling your mobile home furniture.
Decide if your furniture is worth reupholstering
The very first step is determining whether your furniture is worth reupholstering. Check the frame. Is it sagging or warped? Is it made from solid wood? If the frame isn’t in good condition, the piece may not be worth the time, effort, and cost of materials for reupholstering.
If you find that your piece isn’t worth making over, you don’t need to give up entirely. Check your local flea markets, yardsales, online marketplaces, and secondhand stores for good, solid pieces. With patience, you can almost certainly find a piece with a solid frame at an inexpensive price.
Pick your fabric
Picking the perfect upholstery fabric is more than just deciding if you want yellow stripes or white dots. The quality of the fabric you choose matters. The durability, the cleaning process, how well it will hide the wear and tear of frequent use, are all things you will need to take into consideration. Picking the right one might seem daunting, but a little research can help you feel confident that you’ve made the right choice.
Keep in mind how much use this piece will be getting. While almost any fabric can technically be used for reupholstery, you may be very unhappy with the results if you go with a low-quality option. And the same may be said of choosing a fabric that was not intended for upholstery use.
Gather your tools
The tools needed for your undertaking will depend on what pieces you are reupholstering, but here is a list of basic tools required for most upholstery projects:
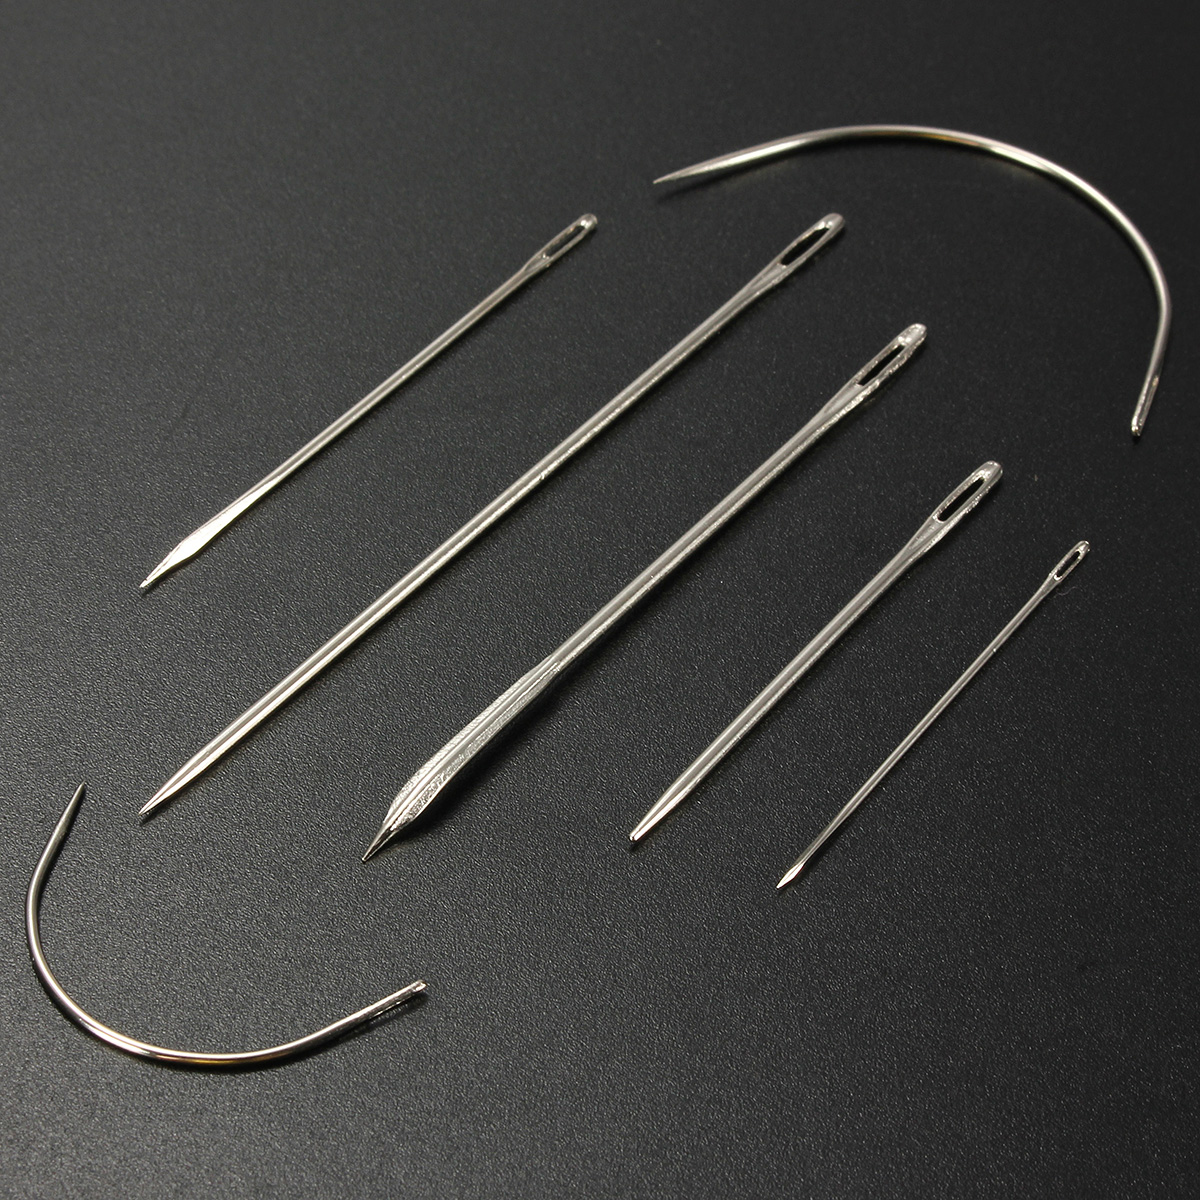
- Upholstery needle
- Flat-head screwdriver
- Staple gun and staples
- Hammer
- Sewing machine and accoutrements
- Sewing scissors
Now, each project may need more than this list covers, and some may require fewer. But these are most likely the tools you will need, especially if you are tackling a beginner project.
Remove the old fabric
Your next step is to remove the old fabric. Sometimes, like in the case of basic dining room chairs, it makes sense to leave the old fabric and just cover it with the new. However, in most cases, it is best to remove the old fabric altogether and start fresh.
In the article linked above, the author points out the importance of keeping your fabric pieces intact to be used as a pattern for your new upholstery. So keep that in mind as you remove the old fabric and try to be as careful as possible. Also, take pictures of the process so you can reverse the deconstruction process when putting your new cover together.
Once you have removed all of the old fabric, clean the frame if needed.
Cut the new fabric
Using those old fabric pieces as your pattern, it is time to cut into your beautiful new fabric. Lay out your new fabric on a large surface, such as the floor or a big cutting table. Pin your “pattern pieces” to it, and then cut to match.
As you place your pieces, keep in mind the direction of the print or weave of your fabric. It would be quite disappointing to get to the end and realize that some of your birds are standing on their heads while the rest are upright. If it helps, during the deconstruction process, mark the top of each piece so that you will know which direction it is supposed to go. As you lay out your pieces, check and double check the direction of each one before cutting.
Sew the new pieces together, if needed
Time to start putting together your new look! This is always an exciting step because this is where you start to see your vision more clearly. Some basic upholstery doesn’t require any sewing at all. But if you took on something a little more ambitious, now is the time to sew the pieces together.

Pull your camera back out and use the pictures you took of the deconstruction process as your guide for putting it all back together.
Staple the new cover to the frame
Now you are ready to staple your new cover to the frame. Line up your new pieces the way they’re supposed to fit on the frame. You will know where to staple based on where the old fabric was stapled previously. While the underside, or the area that is stapled will end up with some folds and tucks, the front or top should appear smooth and unfolded when finished. To accomplish this, make sure you pull the fabric tightly when stapling, and check the front as you go for any areas that need to be adjusted.
Finish any last details and enjoy
Add your final touches, whether it’s buttons, upholstery tacks, braided trim, or anything else, and step back to admire your work!
Not only is reupholstering your own furniture a great way to save money, it’s also the perfect opportunity to make your pieces reflect your own unique tastes. Nobody will have a piece just like yours.
We know that this project will inspire you to bring more creativity to your home, and with fall around the corner, we’ve rounded up some wonderful, unique decorating ideas to help you round out your fresh, new look.
About EZ Homes Design Team
The team behind the scenes at EZ Homes. Bringing you fresh ideas about mobile home lifestyle and design.