Have you ever woken up on a cold winter morning, then go to the bathroom to brush your teeth only to have your routine interrupted by a sputtering or non-existent water supply? That’s just one of the small ways that frozen pipes can affect your everyday life. While you’ll definitely run into some of these, what you may not see is the damage this can cause to your plumbing, and consequently, your home.
If you don’t want to deal with it, see if we will just buy it as is. Click Here For Offer!
Knowing how to unfreeze pipes in a mobile home is just one of those things any responsible owner needs to know. We’ll walk you through th different methods now.
Finding the frozen pipes
First things first: you’ll need to identify where exactly in your entire plumbing system the pipes are frozen. Of this whole process, this can actually be the trickiest part because unless you’re Superman, you don’t have x-ray vision to see what’s going on inside your pipes.
Depending on the size and design of your home, the plumbing system may also be quite complex with many separate parts that could be individually affected. So, to identify the source of our woes, we need to be very systematic and narrow down the possibilities from as broad a position as possible:
Step 1: Check your faucets
If you’ve already identified the room or part of the house with struggling water supply, then good for you! However, you might want to be thorough and check all the faucets in your house just in case. Chances are, you don’t want to repeatedly make the effort of venturing into your home’s underbelly and unfreezing your pipes.
Run the faucets in each room to see if the water supply is normal. If the water flow is weaker than normal or inconsistent, it may be signs that a particular pipe is starting to freeze up. On the other hand, if your entire home is struggling, it might be your main water line or water riser. If it’s only in a particular room, it’s probably just a local issue.
If you’re immediately going to check your pipes and try to fix them, leave the faucets slightly open. This can help break down the ice as well as identify areas where the flow is interrupted.
Step 2: Check your pipes
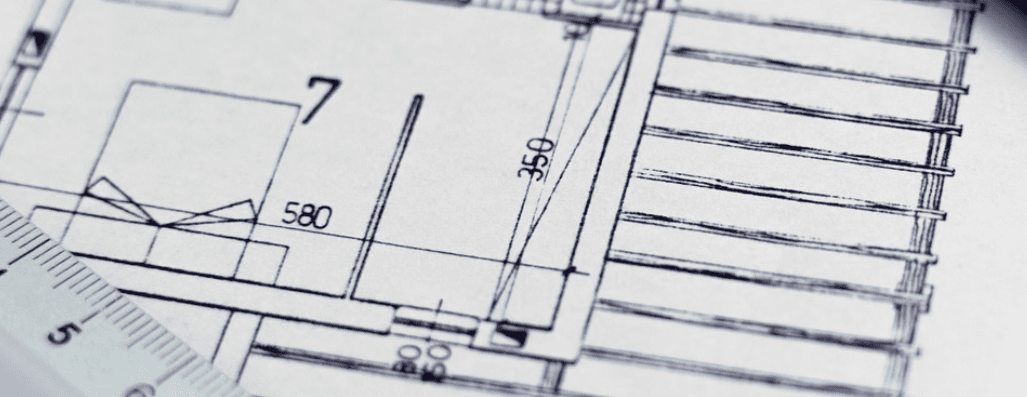
If you have a plan of your house that lays out the plumbing system, now would be a good time to take it out. Finding exactly where each pipe comes from and where they go can be challenging and frustrating. However, carefully and methodically going about this can save you a lot of time and unnecessary effort.
Check the usual suspects first
Here are some tips that can help you identify the most common problem areas first:
- Start inspecting pipes that are the most exposed. These are the most likely to become cold enough to freeze over. Be sure to check pipes near the exterior of the home or close to any vents or openings. It’s also wise to look for damage in your skirting that may be leaving pipes exposed.
- Check pipes in any areas that are uninsulated or poorly insulated.
- Metal or concrete can get very cold very quickly, so check pipes in or near this material
- Outdoor pipes can easily freeze over with water in them. However, most outdoor systems are designed so they don’t have standing water in them.
Pinpoint the frozen parts
Now, although you can’t see inside of the pipes, there are a number of practical ways to pinpoint the exact area where the pipes are frozen:
- If you have heat tape or insulation permanently applied to your pipes, check if they are all working and in good condition.
- If you spot any cracks or leaks in your pipe, this may be the cause of the water disruption. However, it could also be a symptom of the pipes freezing over and cracking under the pressure of the ice inside. If this is the case, your best move is to shut off the main valve and replace the damaged pipe ASAP.
- If you left your taps open, you might be able to feel areas in the pipe where there is no running water by running your hand over them.
- Also, by simply running your hand over the pipes, you may be able to detect areas where it’s particularly cold and which could be ice.
- You could also use an infrared thermometer to detect much colder areas of the pipes.
- Lastly, use a solid object and tap the pipe at regular intervals while moving along it. If a part is frozen, you’ll hear the tape make a different, more solid and less hollow sound.
- If you suspect your main line or riser, then you can inspect them using the same techniques.
Other culprits
If you have thoroughly checked all the exposed pipes and you still have interrupted water supply, it might be the pipes running inside of your walls or floor. Issues with these pipes are much more challenging to detect and fix, for obvious reasons. Unless you have some form of direct access to these spaces, it may simply be impossible to pinpoint the frozen pipes and treat them directly. However, we’ll provide some tips on how to unfreeze these later.
How to unfreeze frozen pipes
Instead of a step-by-step guide, it makes more sense to look at individual ways at which you can unfreeze affected parts of your pipe. If one doesn’t work, you can keep on trying different methods until one eventually does the trick. Thawing your pipes mainly means heating them up enough for the ice to melt away. This means you can get creative and think up your own ways or use your own tools to do it too.
A friendly reminder: Remember to leave your faucets running slightly as this will help you break down the ice and carry it away.
What you will need
- A bucket of hot water
- Hair dryer or heat gun
- Towels
- Heat tape
- Flashlight
- Electric space heater
- Table salt
- Heat lamp
- Gloves
Use salt to make your job easier
Salt has the fantastic property of lowering the melting temperature of ice. Use this to your advantage by pouring salt down the drain, such as in the bathroom sink, of the pipes you think are frozen. To make sure that it reaches its target and to add some extra effect, you can dissolve it in warm water. However, don’t use very hot or boiling water as the sudden temperature shift can damage your pipes. You can use this method either to soften up the ice ahead of time or as a last resort.
Wrap pipes in hot towels
Another low-tech, yet effective, way to thaw pipes is wrap hot towels around the frozen areas. To do this, take a bucket of hot, it shouldn’t be too hot to handle, water down with you into the underbelly as well as a few fresh towels. Dip the towel in the water, wring it out so that there isn’t too much excess water, and then wrap it around the pipe. Depending on how hot the water is, you’ll need to swap the towels every 5 to 10 minutes to keep up the heat.
Use a hair dryer or heat gun
Not everyone has a heat gun lying around. However, a hairdryer is an effective DIY option. With either, you’ll need to be very careful to not overdo it. PVC starts to melt at around 170°F but can be damaged at lower temperatures. So, you need to make sure that whichever one you use doesn’t exceed that. Most hair dryers only reach around 131°F but you can never be too careful. Heat guns should also allow you to set the temperature.
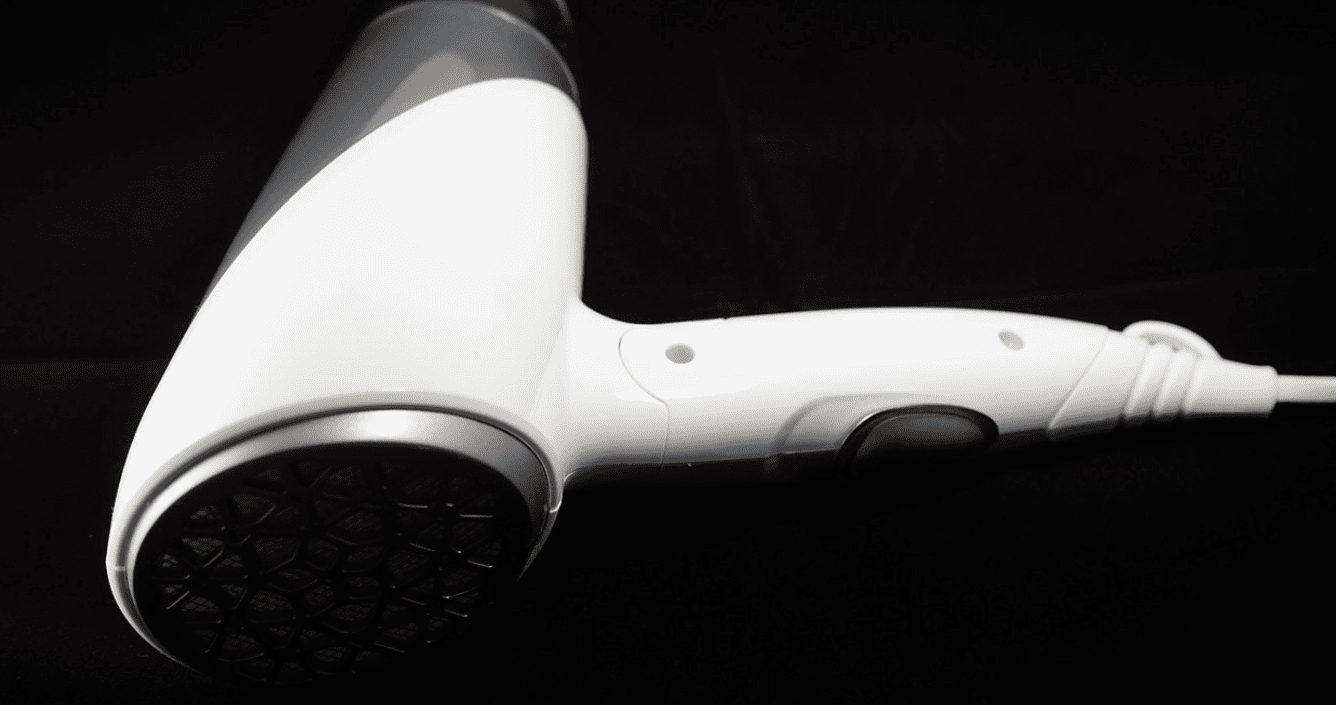
Don’t hold the hair dryer or gun to close to the pipe as too sudden heating on a small area can cause the pipe to crack or rupture. Also, don’t just hold it in one spot but move it up and down a little to heat the pipe more gradually and evenly. It might be best to start further away and move closer if you want to be careful. Be on the lookout for any materials other than the pipes themselves (like washers) that won’t be able to stand the heat.
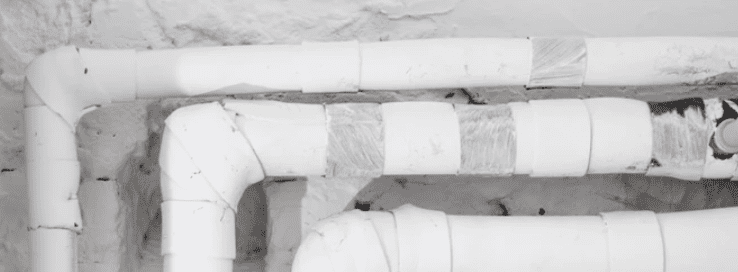
Apply heat tape
Electrical heating tape can be a great way to thaw your pipes as well as a preventative measure. In many homes, the main water line or riser is permanently covered in heat tape. This tape has heating elements on the inside to heat up whatever it comes in contact with. Your tape should have instructions, however, you usually wrap it around the length of the pipe in a spiral pattern. This is important as the tape shouldn’t touch or overlap on itself.
Heat up the underbelly
As a last resort, or if many parts of your plumbing are affected, it may be easiest to just heat up the entire crawlspace. This can be achieved by making the underbelly as airtight as possible and then switching on space heaters or heating lamps in the area. This could create enough heat to thaw the entire system. If you do this, it’s crucial that you leave your faucets open to help clear out the pipes.
How to unfreeze pipes in walls
Now we get to the tricky part. We’re going to assume that you’re not quite ready to start knocking down walls or ripping up your flooring to directly treat pipes. A big part of thawing your pipes is to just be patient and let the technique work its magic. This is even truer when unfreezing pipes inside your walls.
Hopefully, you could narrow down the area or room where there seems to be an issue. This will help you to localize your efforts which will make them quicker and more effective. For example, you can isolate the room or use cardboard or panels to isolate and direct your warming efforts. These are some of the methods you can try:
- Turn on your central heating. You will need to set it quite high to help thaw the pipes throughout your home so be ready to spend some time outside the room or home. This should be done in conjunction with the other techniques and not as a standalone solution. If you suspect a specific wall or area, try to open it up as much as possible by removing furniture or opening cabinet doors.
- Use a space heater near the affected area. Even switching on the space heater near the wall with the pipes will help to heat them up but if there are any vents or openings nearby, it will be more effective to point them into it.
How to prevent pipes freezing next winter
Prevention is always better than cure! Luckily, there are a number of cheap, inexpensive, DIY ways that you can help prevent your pipes freezing over again next winter. Pipes freezing is not only an inconvenience to your daily routine but can also seriously damage your plumbing. This can, in turn, be bad for your home as water damage is a constant threat.
Here are some of the ways you can stop your pipes from freezing and safeguard your home:
- Repair your skirting: Good skirting will help insulate the underbelly and stop snow or water coming in.
- Insulate the underbelly: On top of good skirting, you can insulate the underbelly further by taping or caulking up any air leaks as well as insulating the space with foam or other insulating material.
- Replace your metal pipes: Metal (usually copper) pipes freeze over much quicker than plastic or PVC pipes. That’s one of the reasons they’re being phased out by manufacturers in favor of plastic pipes and can help you avoid freezing pipes.
- Insulate your pipes: You can also directly insulate your pipes using insulating sponge tubes, wrapping your pipe in insulation foam, applying fiberglass insulation, or even heat tape.
- Keep it running: This might not be the friendliest solution when it comes to the environment or your utility bill. However, running the faucets during the coldest days or nights can stop them from freezing up because of standing water.
- Drain your pipes before winter: If your home is going to stand empty for any amount of time, it’s advisable that you flush all water from the system and turn off your main water line. You can find a guide to do this as well as other winterizing your mobile home tips here. We also have tips to winterize a vacant mobile home.
- Check your water riser and main water line: Always make sure that your water riser and main water line/valve is well-insulated. Usually, that means applying working heat tape that you keep running during cold weather.
Don’t leave your pipes in the cold this winter!
Freezing pipes are one of those realities of a mobile home that might seem like a small nuisance but can have big consequences! It’s better to be proactive when it comes to preventing them from freezing in the first place as well as acting as soon as possible when you detect an issue. We hope that this guide of how to unfreeze pipes in a mobile home helps you do just that.
You can help reduce your maintenance needs during winter further by buying a cold weather mobile home. If you’re the owner of a mobile home park and want to prevent similar incidents, you should also go through a checklist to get your park ready for winter.
About Dan Leighton
Dan Leighton has been working in the mobile home industry for over a decade. His focus has been on sales and customer relations - making sure each person in the transaction is comfortable and fully transparent. He has a wife and one son. Dan continues to look for innovative ways to help both sellers and parks get the most bang for their buck.