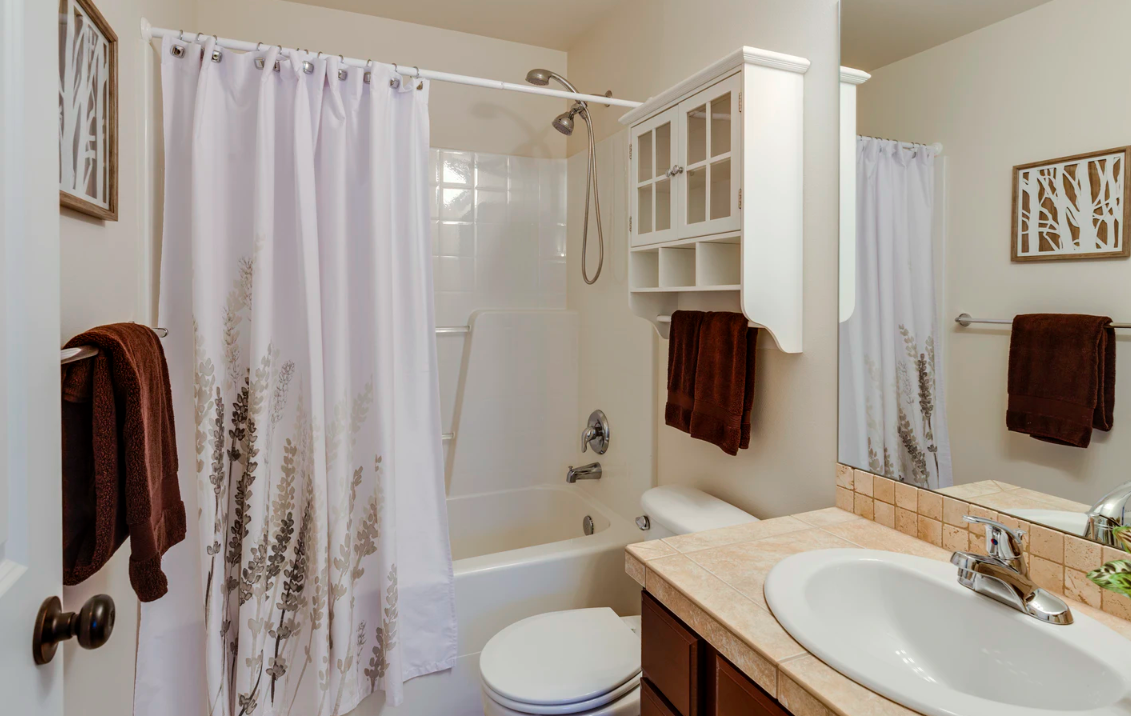
For most of us, extra space will always be welcome. Bathrooms are one of those rooms where there never seems to be enough space. One solution for this is to install a recessed shelf or closet. It is the ideal place to store and organize essentials – like toiletry items, washcloths, towels, and cleaning products.
Take a look at this step-by-step guide for constructing built-in storage in your mobile home.
Guide to installing built-in storage
We all have unique storage needs. You might plan to use your built-in piece exclusively for towels. Or on the other hand, you could be looking for a way to store miscellaneous small items like makeup or medicine.
Luckily, there is almost no limit to the type of closet or storage that you could install. Here are several of the top options that you should consider:
- Pull-out storage
- Cabinets
- Drawers
- Hidden shelving
- Shower cabinets or shelves
Generally, the storage option that will work best for you depends on your bathroom’s layout, the amount of storage space required, and the items you want to store.
In this article, we’re specifically looking at how to construct a linen closet from scratch. For this tutorial, you’ll use sheets of drywall and shelving material of your choice. In the end, you will have a highly personalized solution.
But you can always take alternative storage options or alternative materials and substitute them into the general framework we’re outlining. You only need to adapt the steps to suit the alternative. One of the easiest substitutes is to buy a complete closet and install it into the recess.
Undoubtedly, this option can potentially be much more manageable. Yet, keep in mind that you will have far fewer opportunities to customize the storage.
Now let’s move on to the supplies you’ll need to construct this built-in closet.
List of supplies:
As you’ll see, this tutorial has quite a few steps, and therefore, you need quite a few items. We recommend that you gather all of them before you start with the work.
The essential tools and supplies for the project are:
- Measuring tape
- Stud finder
- Chalk
- Drywall sheets
- Handsaw
- Joint compound
- Preferred shelving
- Drywall screws
- Paint
- Plywood
- Putty knife
- 2x4s
- Nails
- Paintbrush
- Door for closet
- Handheld drill
- Sandpaper
- Baseboard and trim matching your existing fixtures
- Utility knife
Aside from this, it’s recommended that you keep your mobile home’s plans close at hand too. In order to complete the installation, you have to cut into the walls of the bathroom.
You don’t want to make a mistake and end up damaging plumbing, electric cables, or crucial structural components. Preferably, you should check and double-check that there is an empty cavity, and that it’s safe for you to proceed.
Steps to creating a built-in closet in a bathroom
Before you start, you should note that this project could be too tricky for beginners, particularly if you’ve never worked with drywall before. Therefore, it can come in handy to read up on some tips for working with this material.
Step 1: Choose a location
To start, you should decide on the location of the closet. What you’re looking for is open wall space somewhere in the bathroom that will more or less accommodate the size and shape that you’re going for.

A good location is often the space between a shower and a structural wall. Another popular option is to install the closet behind the bathroom door. But this will undoubtedly make opening and closing either door a bit of a hassle because one will need to be closed to access the other.
Therefore, you typically don’t want to place the recess close to any doors or windows.
Also, remember to check whether there is a power outlet, plumbing, or any other obstacle in the way.
Besides this, you need to decide how you’re going to work with the studs in the wall. First, find them using your stud finder. You will use them as anchors for the walls of the cupboard/closet.
Once this is done, you can position the closet between two existing studs. The result of this would be a narrower recess. Or choose three studs and remove the middle one for a larger space.
While you’re busy with this step, you should figure out the exact dimensions for the linen closet too. This would include the depth, height, and width of the structure.
Step 2: X marks the spot
Now take the chalk and first mark the positions of the relevant studs on the wall. Then double-check your measurements for the closet and draw out its outlines too.
It can be useful to check again that the new door will be able to open comfortably and draw out a semi-circle on the floor before the wall that traces the path the door will take.
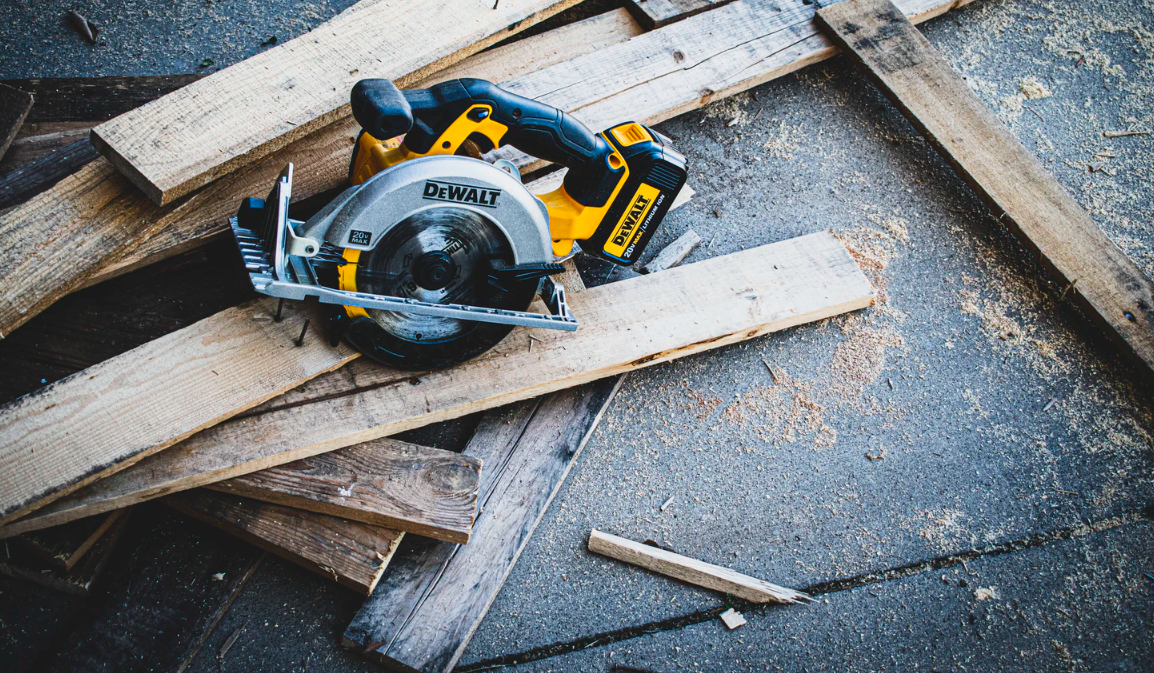
Step 3: Cut the recess
Unfortunately, this next step usually isn’t as easy as it might look. Neatly and correctly cutting drywall can be quite a challenge. It takes experience and skill to do this confidently.
But if you take the process slowly, everything should work out fine.
First, take the utility or razor knife to score and cut through the surface of the wall. Continue this all along the chalk lines that you drew for the outline. This step is crucial to hasten and streamline the process.
Only now can you use the handsaw or a drywall saw to cut out the necessary sections. Just be careful not to damage anything behind the wall.
Take a look here if you want to find out more about other options for tools to cut through drywall.
Step 4: Install a top plate (optional)
Did you remove a stud when cutting the recess?
In this case, you have to create a top plate for the door. Cut a 2×4 to the width of the closet and secure it at the right height for the door. This will be necessary to anchor it in the end.
Step 5: Build the frame
Next, you should construct the frame for the closet using 2x4s. Cut two planks to the depth of the cupboard. Plus, measure the height from the floor to the ceiling joists and subtract four inches from this. And cut three pieces that fit this.
Lay all the 2x4s out and continue by nailing the depth sections to the height sections—position one on each end of the short planks and one in the middle. You should make sure that the four-inch side will be against the floor in the end.
Once it’s been constructed, you need to install it in the recess. You want to secure it again using nails that you space at regular intervals depending on the dimensions of your closet. Secure the frame to the ceiling joists and the floor as well as the sides.
Step 6: Install drywall
After this, you can complete the sides of the closet. Take the drywall sheets and cut them to the appropriate dimensions. You can then simply nail them to the frame.
However, you might need to install some studs at the back to make sure everything aligns. Generally, you can use 2x4s that you can anchor to the existing studs.
Step 7: Prepare your shelves
One of the critical benefits of doing this as a DIY project is that you could customize it from top to bottom. This means that you get to choose how many and what type of shelves you want.
Overall, plywood seems to be one of the most convenient options. The material is quite inexpensive and is easy to get. Plus, it is pretty durable and not too heavy.
To make a shelf, cut a piece of wood to suit the width and depth of your new closet.
Aside from this, you need support for your shelves to rest on. For this, 2x4s work well.
You need to cut two pieces that match the depth of the closet and one that matches the length for each shelf. To fit snugly at the end, you need to either make the lengthwise piece shorter or the other two. Measure how much space is needed to make them fit tightly into the same corners.
We recommend that you sand them and paint them now before you install them.
Step 8: Install shelving
Measure and mark out the level for each shelf. You need to attach the support just below this line. Usually, it is easier to start with the lengthwise section first. Otherwise, you might struggle to reach it to fit it properly.
Now use nails to install each support to the walls of the closet. Moreover, you should attach them to the studs where they meet.
Afterward, you can lay down the shelves on the 2x4s and nail them in place.
The nails should be enough. But if you want to be sure the shelves will stay put you can apply some wood glue too.
Step 9: Put up the door
Following this, you can hang the door. Depending on the type you get, you may need only need to secure its hinges. On the other hand, you may need to install the door’s frame first.
The former is often the case with specialized cabinet doors. In this case, you can screw the door’s hinges either to the drywall of the closet or the walls of the bathroom. Then you can attach the door in turn.
If the door that you bought comes with a door frame, you should begin by securing the frame to the closet. Nail it in place at each corner and regular intervals along the structure.
In both cases, you should test whether the door will work as expected before you take the final steps.
Step 10: Lay down flooring
Another thing to keep in mind with recessed storage is that you will probably need to install some flooring. It will help protect the contents of the space and keep the area clean. If you skip this step, the closet will probably look incomplete.
It’s up to you what material you use. One easy option is to apply water-resistant laminate sections to the floor. Or to use the same material as the existing flooring in the bathroom.
Step 11: Apply joint compound
Finally, you can start refining and finishing up the job. To protect the wall and closet and make the result more attractive, you have to seal any gaps.
Generally, it works best if you tape over the joints first. Afterward, you can use the putty knife to apply joint compound over the gaps. Leave the mixture to dry, following the manufacturer’s instructions.
Often you will see that you’ll need to apply more joint compound to fill those gaps. Once this is done, let things dry again. You can now sand the surface down until smooth.
Repeat this process for any visible screw or nail holes in the closet.
Step 12: Paint the closet
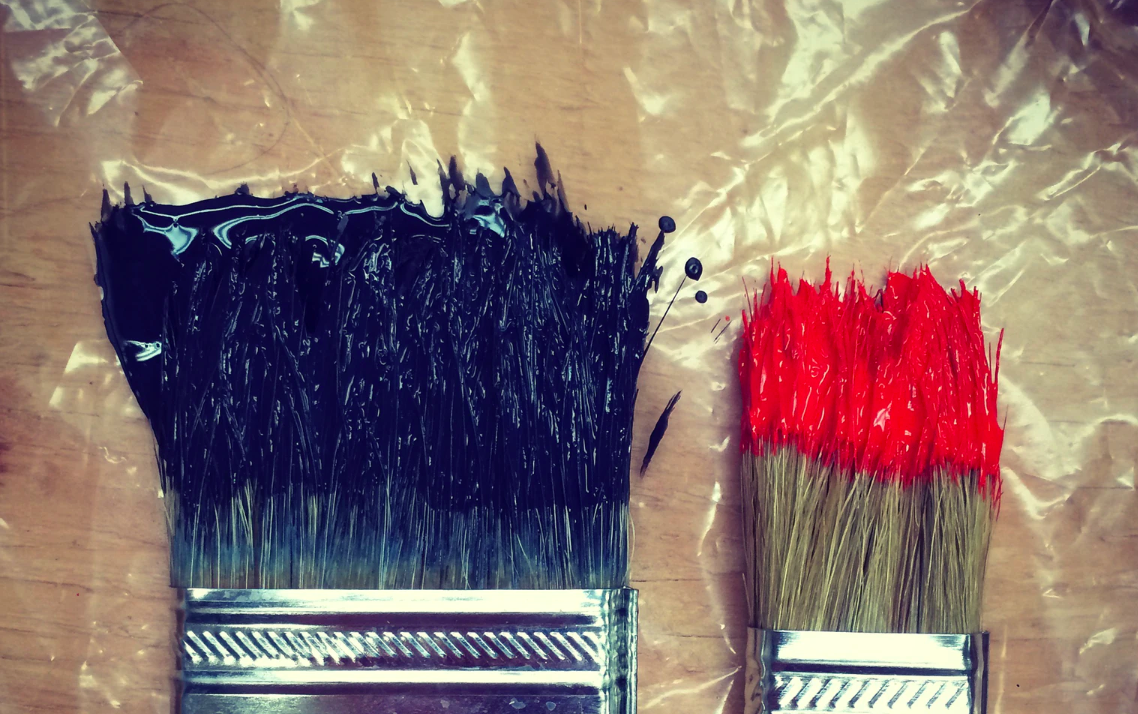
Once you’ve installed all the parts and built the closet, you can paint any exposed parts. Alternatively, you can paint each piece after you’ve cut it and before you attach it.
But even if you do this, you’ll still usually find sections afterward that you need to cover.
We recommend that you leave the door for the closet open to let the area dry more quickly.
Step 13: Install baseboard and trim
Another step to take to refine the look of the closet is to install baseboard and trim. As we’ve listed in the supplies, you want to use materials that match the existing fixtures in your bathroom.
Typically, to securely attach the baseboard and trim, you should use both wood glue and nails. You can also seal any gaps with joint compound.
It’s these small touches that will help you make your built-in storage like a pro job.
Added value and added space
You can customize and adapt the built-in storage in your bathroom to perfectly suit your taste and requirements. Creating additional space is one of the best ways to organize your mobile home so that everything has its place.
But there’s more to it than that. This is the type of renovation that can add worth to your property. And if you want to make more changes to your mobile home bathroom this year, check out 6 Exciting Bedroom & Bathroom Trends Coming In 2020.
About EZ Homes Design Team
The team behind the scenes at EZ Homes. Bringing you fresh ideas about mobile home lifestyle and design.