Do your door hinges squeak? Are your drawer pulls hanging loosely from a screw? Does it feel like all the bits and pieces of your home are coming loose?
If these problems sound like issues you’re facing in your mobile home, it might be time for a complete hardware overhaul.
Unfortunately, most fixtures and fittings aren’t made to last a lifetime. And if yours have defied the odds and lasted a long time, they are probably looking outdated and out of style by now. Therefore, you find yourself neeidng to replace everything piece by piece as the years go by.

In this article, we have compiled the ultimate guide to replacing and updating the hardware in your mobile home. We’ve got you covered from installing door hinges to replacing faucets.
And before you protest, these are all projects that are ideally suited for DIY.
How to replace door hinges
Creaky and squeaky hinges can make it feel like you’re living in a horror movie. The frustration can really build up if you can’t open or close a door without cringing. But irritation not the only issue that can crop up with door hinges. Your hinges can get to a point where they’re no longer a simple frustration, they’re actually elements of your home that need replacing.
Undoubtedly, you can try to repair the offending fittings. However, eventually, you will need to replace and update the hardware.
This will also give you the chance to install fittings that are more to your liking—for example, getting a compact flush hinge instead of a large butt hinge (or vice versa).
Tools and supplies:
First, you should collect all the tools and supplies you need. This includes the following:
- Screwdriver
- New matching set of hinges
- Two door stops or strips of wood
- Sandpaper
- Optional:
- Wood filler
- Small wood wedges
- Power drill
You can follow more or less the same process for full doors as for cabinet and cupboard doors.
Guide:
There are two main ways to do this. One is to remove both hinges and the door and then install new fittings. The other is to remove and replace the hinges one by one. We will look at the first way.

Step 1
Buy a set of hinges that is almost an exact fit in size and shape to the existing ones. The closer the match, the easier your job will be.
Step 2
Measure the door to verify that the hinges are currently in the right position. Generally, the top one should be seven inches from the door frame, and the bottom one should be eleven inches from the frame.
Step 3
Next, move the door open until you can see and access the hinges. Then place the door stops or wood strips underneath the door to help stabilize it and keep it from falling.
Step 4
Once this is done, you can take the screwdriver and loosen the screws on the top hinge. Remove it completely and examine the wood underneath. Use the wood filler and wedges to fill up any extra holes as well as screw holes that are stripped. Leave the filler to dry and sand down afterward.
Step 5
Hold the new hinge up to the door and make sure that all the holes are there and are in the right place. Make adjustments if necessary.
Step 6
If the surface of the door jamb is rough, you should sand it down first. You might also want to cover it with a coat of paint or wood stain.
Step 7
Now hold up the new hinge to its place and secure it with screws. You can either use a screwdriver or a drill. Install both sides before you put in the hinge pin.
Step 8
Repeat steps 4 to 7 with any remaining hinges on the door.
Step 9
All that’s left to do now is to remove the door stops or blocks and test the new fittings.
How to replace cabinet door knobs and drawer pulls
Cabinet door knobs and drawer pulls seem to run a competition for which can be most annoying when malfunctioning. And they’re toe-to-toe with each other on that front. But drawer pulls might edge out cabinet door knobs when it comes to which one you need to fix or replace more often.
The good news is that once you’ve correctly installed these items, they will tend to give issues less often. Plus, updating these fittings can help you transform your interior.
Tools and supplies:
- Screwdriver
- New knobs or pulls (buy enough so that you have extras for future replacements)
- Measuring tape
- Optional:
- Power drill
- Wood putty
- Paint or wood stain
Guide:

Step 1
Before you go out to buy the new fittings, measure the distance between the attachment points on pulls. This is called the “center to center” or CC dimensions. Preferably, you should buy pulls with the same CC. Luckily, this doesn’t matter with knobs.
Step 2
Use a screwdriver to loosen and remove the screws on the old fittings. Otherwise, if your hardware is secured with nuts and washers, unscrew the nuts then remove the washers. Afterward, you can slide out the knob or pull.
Step 3
Fill the old openings with wood putty and let it dry. Sand the surface down once you’re done and paint over this section. (Note: If your new fittings work with the holes of the previous ones, you can skip this step).
Step 4
In case you need to drill new holes, mark them with a pencil first. Then use the power drill to create pilot holes.
Step 5
If the new fitting comes with a bolt, insert it. Try to keep everything straight. Place the washer over the bolt and tighten the nut until the washer sits flush with the wood. Or if the fitting will be secured with a screw, hold the knob or pull in place while you screw it on tightly from the other side.
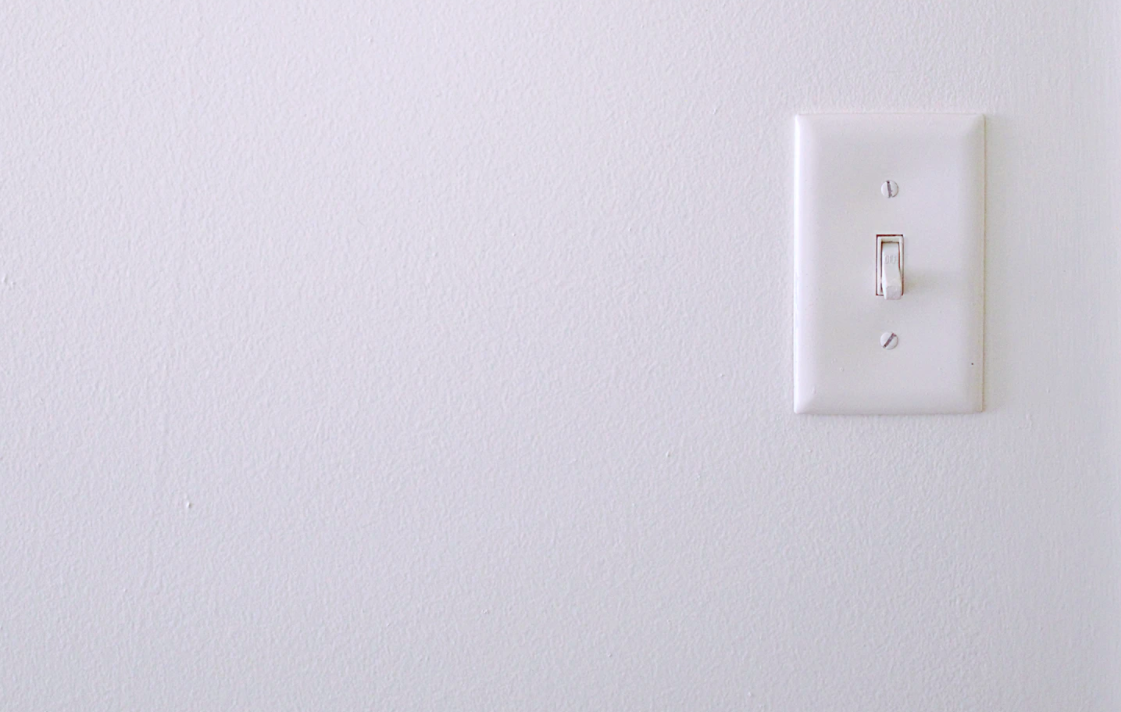
How to replace light switches
Next up is a project that you definitely want to see to sooner rather than later. When a light switch starts acting up, it can turn into a significant safety hazard.
Besides this, you might want to update it merely because it looks old and dirty. And this can be an excellent opportunity to save some money by DIYing the replacement. Plus, it can give you the chance to install a smart switch, like one with dimmers.
Tools and supplies:
- Screwdriver
- Needle-nose pliers
- Single-pole light switch
- Light switch plate
- Voltage detector
- Wire stripper and cutter
- Electrical tape
Guide:
Step 1
Undoubtedly, your first step should be to turn off the power at the circuit breaker or fuse box.
Step 2
Now, use a flathead screwdriver to remove the light switch cover. After this, use a Phillips head screwdriver to remove the old switch from the box.
Step 3
Double-check that the power is off by using the voltage detector.
Step 4
Loosen the screws that secure the electrical wires to the switch. And then begin to disconnect them, leaving the grounding wire (if there is one) until last. Pay careful attention to where each wire goes, as you will need to connect them in the same way to the new fitting.
Step 5
Connect the wires to the new switch in the same order in which you disconnected them. You should attach each wire to mirror the configuration of the old fitting.
To connect them, strip off some of the insulation at the end of the wire. Following this, you can twist the end into a loop to you wrap around the corresponding terminal screw. Always wrap the wire clockwise because this will help to secure it tightly once you secure the screw.
Step 6
Once this is done, you can slowly put the switch in place. Tighten the screws to attach it to the box. But be careful not to apply too much pressure and crack the new switch.
Step 7
Only when you’ve installed the plate completely can you go back and turn on the power at the circuit breaker.
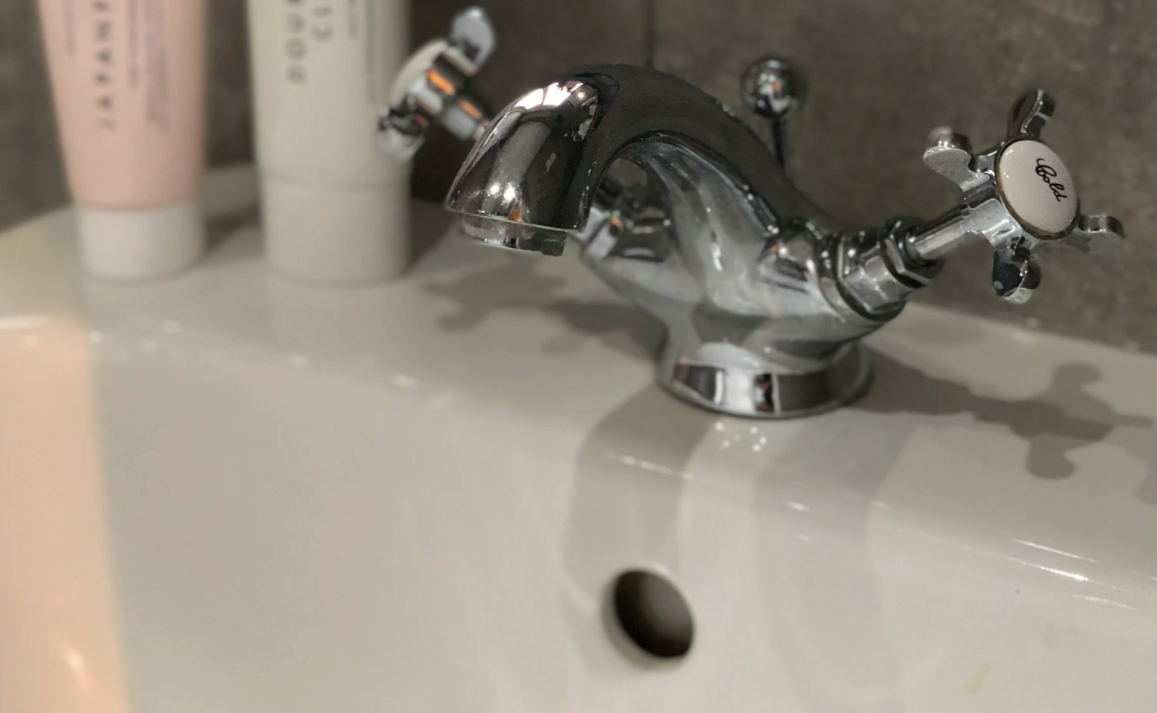
How to replace a faucet
Overall, this is probably the trickiest upgrade to tackle. The actual process isn’t particularly complicated. Instead, the problem is that there are so many unexpected issues that can pop up either when removing the old faucet or installing the new one.
For example, you might find a leaky pipe or a nut that’s rusted in place.
That’s why you need to come prepared for this job. And hopefully, if all goes well, and you can the project wrapped up quickly.
Tools and supplies
Unlike with the other how-tos, this list is not exhaustive. It covers everything you will need for a basic installation. But you might need some extra bits and pieces depending on your situation.
- Pliers
- Adjustable wrench
- Towel (to take care of any spillage)
- Bucket
- New faucet
- Plumber’s tape
- Safety glasses
- Plumber’s putty
- Two flexible water line extensions per faucet
- Work gloves
Guide:
Step 1
Identify the type of faucet you have. Use this guide to understand what type of sink you have. If you’re replacing the countertop or sink too, you can switch out the type of faucet. Otherwise, it’s best to stick to the kind you already have.
Step 2
Beforehand, take a look at the manufacturer’s instructions for the new faucet. Keep an eye open for any specific instructions for the sink in question.
Step 3
The next step is a bit like assembling a jigsaw puzzle. You need to put together all the parts for the new faucet. This is a chance to make sure you have everything you need. Also, check that you have the right fittings to connect it to your existing pipes and line extensions.
Step 4
Shut the wall valves to cut off the water supply. Remember to let the remaining water drain into the sink by opening the faucet, which also drains away some residual pressure.
Step 5
Now you want to keep the bucket handy. Put it underneath or as close as possible to the faucet’s connections. And use the adjustable wrench to disconnect the flexible extension. Let all the excess water drain into the bucket.
Step 6
Once you’ve done this, disconnect the flexible line from the shut-off valve as well.
Step 7
Following this, you have to remove any fittings that are securing the faucet in place. Usually, this will involve nuts and washers. Besides this, you should remove the clamp bolt, which is attached to the drain rod extension.
Step 8
Make sure everything is disconnected and lift out the old faucet. If it’s stuck, try to gently loosen it so that you don’t damage the countertop or sink.
Step 9
Generally, the following guidelines will work to install any faucet. But remember to check the manufacturer’s instructions. Put some plumber’s putty or a gasket at the base of the spout to help create a seal. Place the spout into the hole and secure it with the mounting nut from below.
Step 10
Skip this step if you have a single-hole faucet. Otherwise, you need to assemble the mixing valves.
This process will vary greatly depending on the specific tap, therefore look at the instruction booklet again. Remember to seal the washers together with putty, and note that the hot valve should go on the left and the cold one on the right.
Step 11
Now you need to thread the trim. Usually, you will need to thread it onto the mixing valve. All handles should be in the off position for this. In case the trim has threaded NPT fitting, use plumber’s tape to make the seal extra tight.
Step 12
Afterward, you should connect the water lines below. You can also use plumber’s tape for a tight seal. And join the new water line extensions to the mixing valves and the shut-off valves.
Step 13
Connect the drain rod to the new extension. Secure the clamp bolt back in place.
Step 14
Go over all your connections and fittings again. If everything looks like it’s in order, you can turn on the shut-off valves. Turn them on one at a time so that you can check for leaks.
Step 15
The moment of truth has arrived. Open the faucet and see if everything is working as it should. Always flush out a new faucet for a couple of minutes before you use it.
Level up your DIY skills
Replacing and updating your hardware can lead to a significant improvement in the look and feel of your mobile home. Plus, it’s a great way to gain some experience in repairs and installation.
There’s no more reason to envy someone else’s handyman skills. You, too, can become a DIY master. All it takes is a collection of tools and supplies, plus projects that give you the chance to get your hands dirty with home improvement work.
If that appeals to you, don’t miss this ultimate guide to 30 things you can DIY around your mobile home.
About EZ Homes Design Team
The team behind the scenes at EZ Homes. Bringing you fresh ideas about mobile home lifestyle and design.